Do you dream of light, airy, homemade whipped cream but dread the arm-aching struggle of whisking by hand? Many home cooks find the idea of manually whipping cream daunting, often resorting to electric mixers or even store-bought alternatives. However, mastering the art of hand-whisking cream is a truly rewarding kitchen skill that offers superior control over texture and a satisfying sense of accomplishment. With the right technique, a few simple tools, and a bit of insider knowledge, you can achieve perfect peaks without breaking a sweat or tiring your arm. This guide will reveal the secrets to effortless hand-whipped cream, transforming a once-arduous task into a smooth, enjoyable process.
What is Whipped Cream and Why Whisk by Hand?
Whipped cream is essentially heavy cream that has been aerated by rapid agitation, causing air bubbles to be incorporated and the fat globules to coalesce, thickening it into a light, fluffy, and stable foam. It’s a culinary staple, perfect for topping desserts, enriching coffees, or serving as a delicate side for fresh fruits.
While electric mixers offer speed, whisking cream by hand provides unparalleled control over its consistency. You can stop precisely when it reaches soft peaks, medium peaks, or stiff peaks, tailoring the texture to your specific dish. Many chefs and home bakers argue that hand-whipped cream possesses a nuanced texture and delicate mouthfeel that machinery simply cannot replicate. Moreover, it’s an excellent technique to have in your repertoire for those times when an electric mixer isn’t available, or for whipping small quantities that might get lost in a large stand mixer bowl.
Essential Equipment for Effortless Hand-Whisking
Choosing the right tools is the first step towards whisking cream by hand without getting tired. The proper equipment can significantly reduce the effort and time required, making the process far more enjoyable.
The Right Whisk
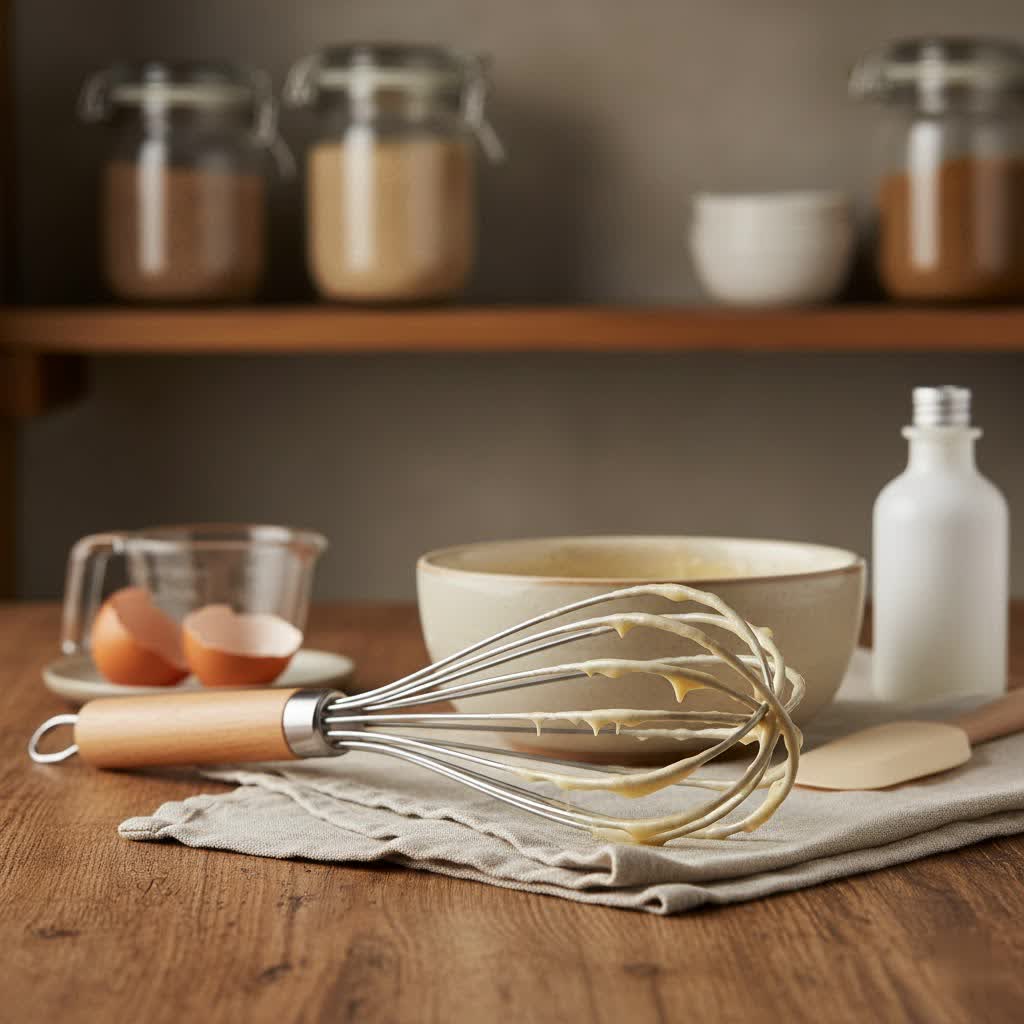
A good whisk is your most important ally. Opt for a balloon whisk, characterized by its many thin, flexible wires that form a bulbous shape. This design is ideal for incorporating air into liquids rapidly.
- Size: A larger balloon whisk (around 10-12 inches) generally works faster and more efficiently for most quantities of cream, allowing you to cover more surface area and incorporate air more effectively.
- Material: Stainless steel whisks are durable, easy to clean, and efficient. Avoid flimsy whisks with wires that are too close together or made of less rigid materials, as they won’t provide the necessary aeration.
The Ideal Bowl
The bowl you use plays a critical role in both efficiency and comfort.
- Material: Metal (especially stainless steel), glass, or ceramic bowls are superior for whipping cream. These materials retain cold temperatures well, which is crucial for successful whipping. Avoid plastic bowls, as they can retain grease residue and do not stay cold, hindering the whipping process.
- Size and Shape: Choose a bowl that is larger than you think you need and ideally wide and shallow. This allows for vigorous whisking without splashing and provides ample space for the whisk to move through the cream, incorporating maximum air with each stroke. A bowl with a flat bottom also helps prevent it from sliding around while you work.
The Cream Itself
The quality and temperature of your cream are non-negotiable for easy hand-whisking.
- Type: Always use heavy cream or heavy whipping cream. These contain a fat content of 36% or more, which is essential for stable whipped cream. Single cream or light cream will not whip effectively, if at all. Higher fat content generally translates to easier and faster whipping.
- Temperature: This is perhaps the most critical factor. Your cream must be very cold. Chilled cream whips faster and holds its shape better because the fat globules are firmer and more easily stabilized when cold.
Mastering the Technique: Whisking Cream Like a Pro
With the right equipment in hand, the next step is to perfect your whisking technique. This section will guide you through the process, focusing on movements that maximize efficiency and minimize fatigue.
Optimal Preparation
Before you even start whisking, thorough preparation can set you up for success.
- Chill Everything: Place your heavy cream, your mixing bowl, and your whisk in the refrigerator for at least 30 minutes, or even in the freezer for 10-15 minutes, before you begin. This ensures all components are as cold as possible, drastically speeding up the whipping process and preventing premature arm fatigue. A good trick is to place the bowl over an ice bath while whisking, which continuously chills the cream.
The Whisking Motion
This is where many people go wrong, leading to tired arms and slow results. The goal is to incorporate as much air as possible into the cream, not just stir it around.
- Posture and Grip: Hold the bowl firmly with one hand (you can place it on a damp towel to prevent slipping) and the whisk with the other. Keep your whisking arm relatively steady, close to your body, and try to use your forearm (moving from the elbow) rather than just your wrist. This provides a greater range of motion and leverages larger muscle groups, reducing strain on your wrist and hand.
- The Movement: Instead of simply moving the whisk back and forth or in small circles, aim for a more dynamic motion.
- Figure-Eight: Some recommend a figure-eight motion, which allows the whisk to cut through the cream in multiple directions, creating more aeration.
- Ovals and Lifts: A common and highly effective method is to make quick, vigorous oval shapes, ensuring the whisk lifts and plunges into the cream, bringing air down into the mixture. Think of it as “whip it, whip it good”—fast, rhythmic strokes that bring the whisk from the bottom of the bowl to the surface.
- Angle: Tilt your bowl slightly (about 45 degrees) to give you a larger surface area to work with, allowing the whisk to make full contact with the cream.
- Speed: Start whisking slowly until small bubbles begin to form. Then, gradually increase your speed to a vigorous, continuous motion. Consistency and speed are key to building volume and structure. Keep at it, even if it feels like nothing is happening for the first few minutes; it often thickens suddenly.
When to Add Sweeteners and Stabilizers
Adding ingredients at the right time can impact both the texture and the ease of whipping.
- Sugar: It’s generally best to add sugar after the cream has started to form soft peaks. Adding sugar too early, especially granulated sugar, can make it harder for the cream to whip and incorporate air.
- Type of Sugar: Use powdered sugar (confectioners’ sugar) rather than granulated sugar. Powdered sugar dissolves more easily and often contains a small amount of cornstarch, which can help stabilize the whipped cream.
- Amount: For 1 cup of heavy cream, 1-2 tablespoons of powdered sugar is usually sufficient, depending on your desired sweetness. Less sugar is often better for optimal whipping.
- Flavorings: Add vanilla extract or other flavorings at the same time as the sugar, once soft peaks have begun to form.
- Stabilizers (Optional): For extra stability, especially in warm climates or if preparing whipped cream in advance, consider adding 1/4 teaspoon of cream of tartar per cup of heavy cream at the beginning of the whisking process.
Common Pitfalls and Troubleshooting
Even with the best intentions, things can sometimes go awry. Understanding common problems can help you troubleshoot and achieve perfect whipped cream every time.
Cream Not Whipping
This is the most frustrating issue and usually stems from one of a few key factors.
- Temperature Issues: The most common culprit. If your cream, bowl, or whisk warms up too much, the fat globules won’t emulsify properly, and the cream won’t stiffen. Always ensure everything is as cold as possible.
- Wrong Type of Cream: Using single cream, light cream, or half-and-half instead of heavy whipping cream will prevent it from ever reaching whipped consistency due to insufficient fat content. Some ultra-pasteurized creams can also be harder to whip due to changes in their protein structure.
- Too Much Sugar Too Early: As mentioned, adding a large amount of sugar at the beginning can inhibit aeration. Wait for soft peaks to form before sweetening.
- Humidity: High ambient humidity can slow down the whipping process. If you live in a humid climate, chilling your equipment extra thoroughly or whisking over an ice bath becomes even more critical.
Arm Fatigue
Feeling the burn? Your technique might need adjustment.
- Incorrect Motion: Relying solely on wrist action rather than involving your forearm and elbow can quickly lead to fatigue.
- Small Bowl/Whisk: A cramped bowl or too small a whisk limits your range of motion and efficiency, making you work harder for less result. Ensure you have ample space to move vigorously.
- Patience: Whipping cream by hand takes time and consistent effort. It might feel like a long slog for the first few minutes, but persistence pays off. It often thickens quickly once it starts.
Over-whipping
Going too far can turn your beautiful cream into something else entirely.
- Butter: If you continue to whisk beyond stiff peaks, the cream will eventually separate into grainy curds and a milky liquid – you’ve made butter! While this isn’t necessarily a “mistake” (and can be a fun kitchen experiment), it’s not what you want for whipped cream. Keep a close eye on the consistency and stop as soon as it reaches your desired peak stage.
Pro Tips for Super Speedy Hand-Whipped Cream
For those looking to shave off even more time and effort, these expert tricks can make a noticeable difference.
- Double the Whisking Power: If you have two whisks, try holding both in one hand to create a larger, more efficient whisking surface. This can significantly speed up aeration.
- The Ice Bath Method: As mentioned, setting your mixing bowl inside a larger bowl filled with ice and a little water will keep your cream consistently cold, which is paramount for quick whipping.
- Shake It Up (Initially): For very small amounts of cream, you can start by shaking the cold cream in a sealed jar until it begins to thicken, then transfer it to a bowl and finish with a whisk. Be careful not to over-shake, or you’ll get butter!
- Work in Batches: If you need a large quantity of whipped cream, consider whipping it in smaller batches. It’s often easier and faster to whip one cup at a time than struggling with a very full bowl.
“The secret to hand-whipping cream isn’t just about strength; it’s about smart technique and cold ingredients. Leverage your forearm, use a spacious bowl, and let the cold do half the work for you.” – Chef Antoine Dubois, Culinary Instructor
Conclusion
Whisking cream by hand doesn’t have to be a workout that leaves your arms aching. By understanding the science behind whipped cream and employing smart techniques, you can master this fundamental culinary skill with ease. Remember the importance of cold ingredients and equipment, the power of an efficient whisk, and the right motion that utilizes your forearm rather than just your wrist. The next time a recipe calls for whipped cream, embrace the challenge of hand-whisking. You’ll not only achieve a superior texture but also gain a deep satisfaction in crafting something truly delicious with your own hands. What will be the first dessert you crown with your perfectly hand-whipped cream?
Frequently Asked Questions
Can you whisk cream by hand without an electric mixer?
Absolutely! While an electric mixer offers convenience, whipping cream by hand is entirely possible and, for many, yields a superior, more controlled texture. It requires cold ingredients, the right whisk, and an efficient whisking technique, often involving the forearm for sustained effort.
How long does it take to whip cream by hand?
The time it takes varies depending on factors like cream temperature, whisk size, and technique, but typically, 1 cup of cold heavy cream can be whipped to soft peaks in 3-5 minutes and to stiff peaks in 5-8 minutes of vigorous, continuous whisking.
What kind of whisk is best for hand whipping cream?
A large stainless steel balloon whisk is ideal for hand whipping cream. Its many flexible wires and bulbous shape are designed to incorporate air efficiently, while its size allows for broad, effective strokes that speed up the process.
Why isn’t my cream whipping?
Common reasons include the cream not being cold enough, using cream with insufficient fat content (like single or light cream), adding too much sugar too early, or using a plastic bowl which can retain grease and doesn’t stay cold. Ensure all equipment and ingredients are thoroughly chilled.
Can I use granulated sugar instead of powdered sugar?
While you can use granulated sugar, powdered sugar (confectioners’ sugar) is generally preferred for whipped cream. It dissolves more easily, preventing a gritty texture, and often contains cornstarch which acts as a stabilizer, helping the cream hold its shape longer. If using granulated sugar, add it slowly after soft peaks form.